Showing posts with label chic. Show all posts

Sunday, 1 June 2014

Hazed Magazine

have you checked out the treasure hunt that has just started over at Hazel loves design? Its pretty awesome - up to $1500 worth of handmade loveliness, including one of my custom designed ring bearer cushions, for your big day (or someone you know who is getting married)
My up cycled ring bearers cushion featuring beautiful rings
by Julia @ Relique

a photoshoot at my mum's gorgeous villa
So, if you want to take part, follow this link to Hazel Loves Design, and get hunting!

http://www.hazellovesdesign.com/2014/05/were-going-on-treasure-hunt.html

:) J

ps - my tutorial will be featured on the blog too, if you are interested in making one of these lovely cushions!


Monday, 10 March 2014

thinking outside the wardrobe door

Renovating is underway alongside our earthquake repairs, and finally after 10 yrs our bedroom is being redecorated.  My ugly old wardrobe is now lying on our back lawn.  Hubby asked about a headboard, which got me thinking along the upcycling lines.  And that's where the wardrobe doors came into it.  Perfect size for a headboard - old rimu with lots of character.  Now to find some fabric - not just ordinary fabric - it had to deal with oily hubby hair and be washable.  Which led to oil cloth, and Femme de Broncante - OH what a LOVELY place.  Full of french provincial mixed with splashs of shabby chic...so inspiring!!!!
So i ended up with the seafoam polkadot oilcloth, and a pot of Annie Sloan old white chalk paint. ( which i will use to paint the dressers i got from trademe too)
The ugly old headboard lying next to my rimu wardrobe door
Firstly to sand down the wardrobe door, pull the nails out and take the backing off. Next I cut up an old foam bed topper to fit in the frame so the oilcloth is nicely padded. This gets glued to the backing board.While that is drying, time to paint the frame.  I started with Dulux D'Urville Island (my fav aqua paint) as the base, then applied old white chalk paint over the top and rubbed it back slightly for effect.  I then applied the Annie Sloan clear wax over the top to finish.
Now for the tricky bit - attaching the oil cloth to the frame with enough give in it to sit nicely over the padding, between the frame and the backing board.  I used a staple gun for this step.
Now to put it all together - I popped the painted 'frame' over the covered foam and squashed it down onto the backing board.  I used small nails and hammered them through from the back to secure the backing board to the frame.  All done!
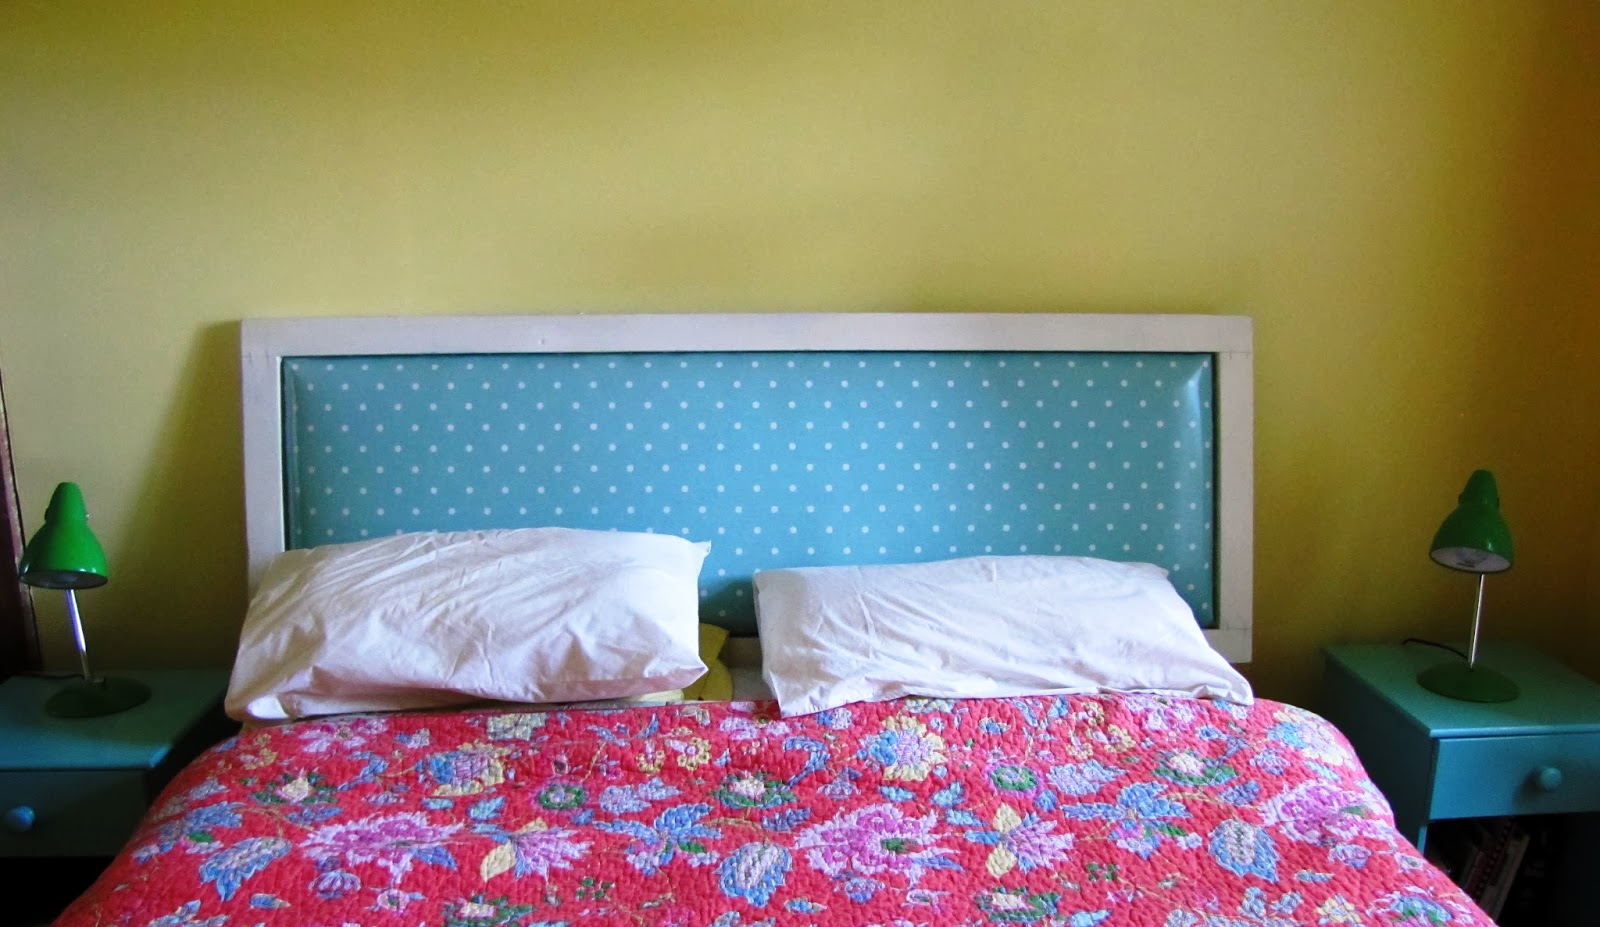
My upcycled wardrobe door headboard.  Walls are in Resene Moonbeam
All that is left is to find some other bit of wardrobe framing to make legs to attach the headboard to the bed. (I also made some yummy linen curtains with fabric from Femme De Brocante - you can find their delicious shop here: http://www.fdb.co.nz/)  Will post a pic once the room is all finished...EXCITING!!!!


Monday, 25 March 2013

a treasure trove

I found one today - the city mission op shop (or thrift shop/charity shop) in town, has a room to the side - and in that room is a little shelf.  On the little shelf, I found  sewing treasures.  See:
I was soooooo excited - but slightly nervous about how much i had racked up.  So I tentively popped everything on the counter, and to my utter surprise was charged $5 for all of it.  The gorgeous vintage patterns, zips, bias binding, metro threads, snap domes, bobbin case, embroidered linens, buttons, and my favourite find - the bias binding maker.  That is the metal thing in the foreground of the photo, lying on a hand written note.  Some lovely old dear has written instructions for DIY bias binding.  SOOOO excited - now i can easily make my own - handy for buntings, and edging bibs for baby gifts....
The patterns will join the 300+ i have stashed in my cupboard - (thats one of my slightly addictive habits!)

Thats my excitment for the day - in fact it will keep me excited for at least the next week! :)

Saturday, 16 March 2013

bunting fun, and gracie

my 6 yr old is nearly 7.  And very excited about it. She has also discovered buntings, and has decided she wants a fairy one for her rainbow birthday party.  I happen to have some gorgeous Cicely Mary Barker fairy fabric that will do nicely, so am eager to get that underway.

However, back to Gracie - she sounds awfully girlie doesn't she - but actually she isn't.  Up until about 5yrs, skirts were totally overrated - they got in the way of her biking and climbing trees, and we were lucky if we could get her into anything except shorts - even in the middle of winter.  In fact often in her earlier years, naked was her favourite outfit.  Thankfully her pre-school was understanding!
Anyhow, I thought I would show you one of her recent designs.  I gave her an old A3 sketch folder and she has been keeping her designs in it (because she is going to be a designer like her mummy when she grows up - cutey!)
Rosie the Robot, by Gracie aged 6 and a half
Next is a picture of my first attempt at a bunting.  I decided to go the upcycled route, so included are thrifted things - an embroidered tablecloth, floral sheet, vintage lace and a dyed pillow case.  I am quite pleased with the result, and think that this will be my giveaway for my redflax page on facebook - in celebration of the fact that I have passed the 500 mark of followers on Pinterest - we are a multi-social media society nowadays aren't we :)

upcycled bunting loveliness