Renovating is underway alongside our earthquake repairs, and finally after 10 yrs our bedroom is being redecorated. My ugly old wardrobe is now lying on our back lawn. Hubby asked about a headboard, which got me thinking along the upcycling lines. And that's where the wardrobe doors came into it. Perfect size for a headboard - old rimu with lots of character. Now to find some fabric - not just ordinary fabric - it had to deal with oily hubby hair and be washable. Which led to oil cloth, and Femme de Broncante - OH what a LOVELY place. Full of french provincial mixed with splashs of shabby chic...so inspiring!!!!
So i ended up with the seafoam polkadot oilcloth, and a pot of Annie Sloan old white chalk paint. ( which i will use to paint the dressers i got from trademe too)
 |
| The ugly old headboard lying next to my rimu wardrobe door |
Firstly to sand down the wardrobe door, pull the nails out and take the backing off. Next I cut up an old foam bed topper to fit in the frame so the oilcloth is nicely padded. This gets glued to the backing board.While that is drying, time to paint the frame. I started with Dulux D'Urville Island (my fav aqua paint) as the base, then applied old white chalk paint over the top and rubbed it back slightly for effect. I then applied the Annie Sloan clear wax over the top to finish.
Now for the tricky bit - attaching the oil cloth to the frame with enough give in it to sit nicely over the padding, between the frame and the backing board. I used a staple gun for this step.
Now to put it all together - I popped the painted 'frame' over the covered foam and squashed it down onto the backing board. I used small nails and hammered them through from the back to secure the backing board to the frame. All done!
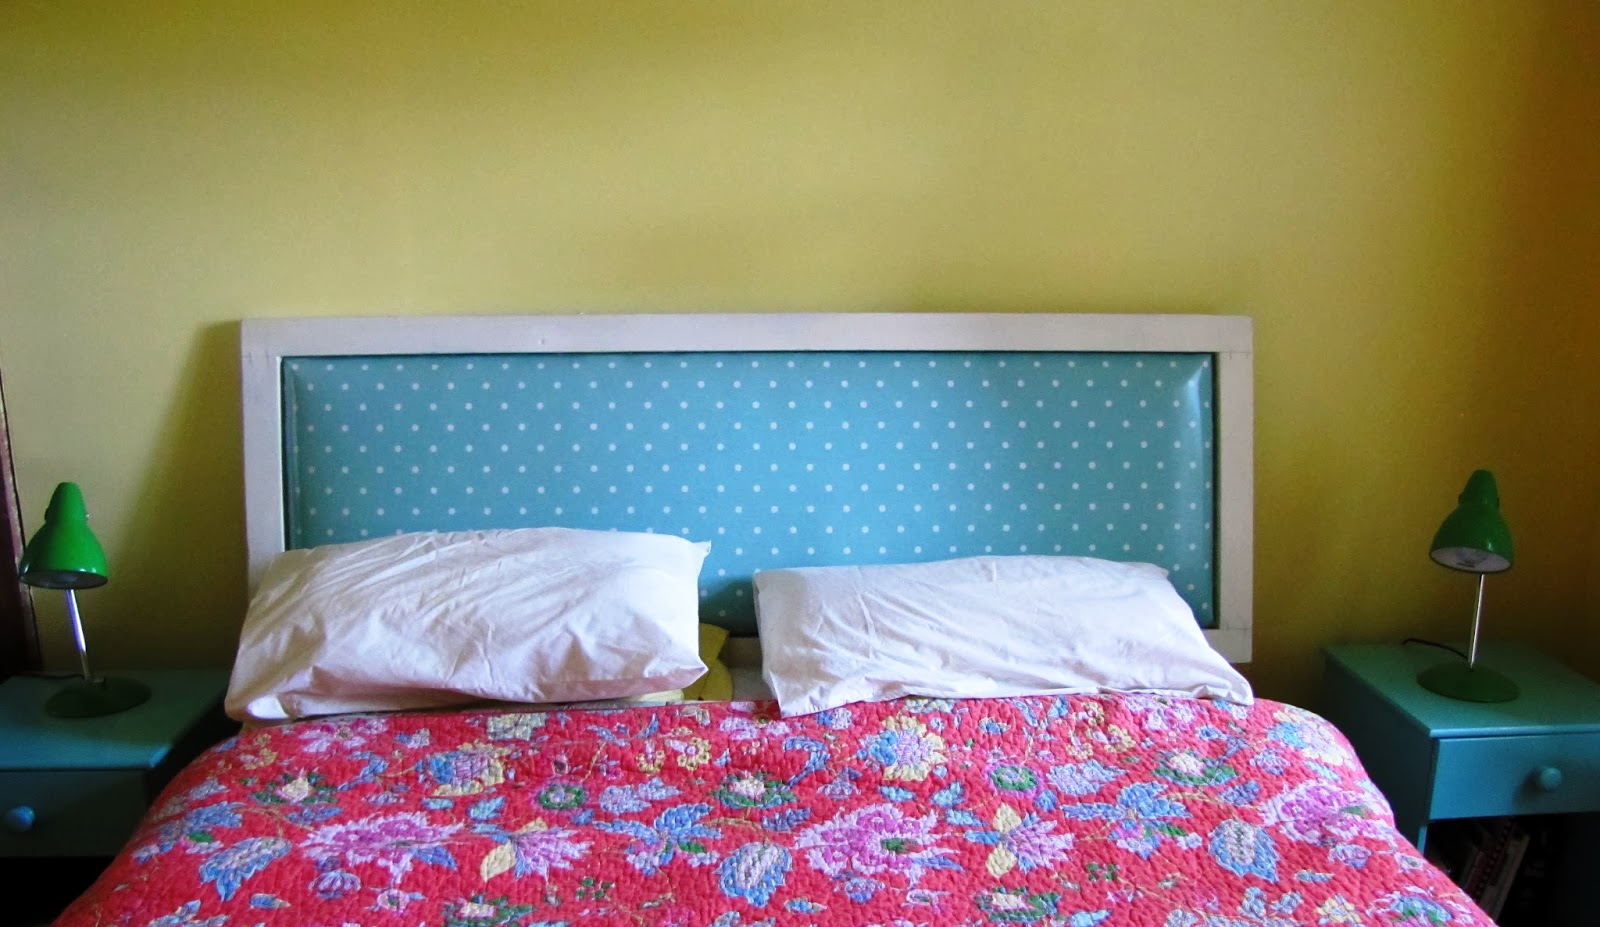 |
| My upcycled wardrobe door headboard. Walls are in Resene Moonbeam |
All that is left is to find some other bit of wardrobe framing to make legs to attach the headboard to the bed. (I also made some yummy linen curtains with fabric from Femme De Brocante - you can find their delicious shop here: http://www.fdb.co.nz/) Will post a pic once the room is all finished...EXCITING!!!!


 At the moment i am working on a vest with an asymmetrical zip with the leather jacket, and some fitted tartan trousers with the tartan skirt...Here is my rather bizzare looking toile (sample) as i was finding it really hard to pin the leather to fit it properly
 The armhole is proving to be tricky, as it is so big! Maybe inserts will be needed. Incorporating the lace is challenging me too. I have found my old button cross i made for a jacket when i was at Fashion School, and decided to trim that with lace and add it to the back of the vest. Looks pretty good. How to attach it will be the next challenge, as it is quite heavy!
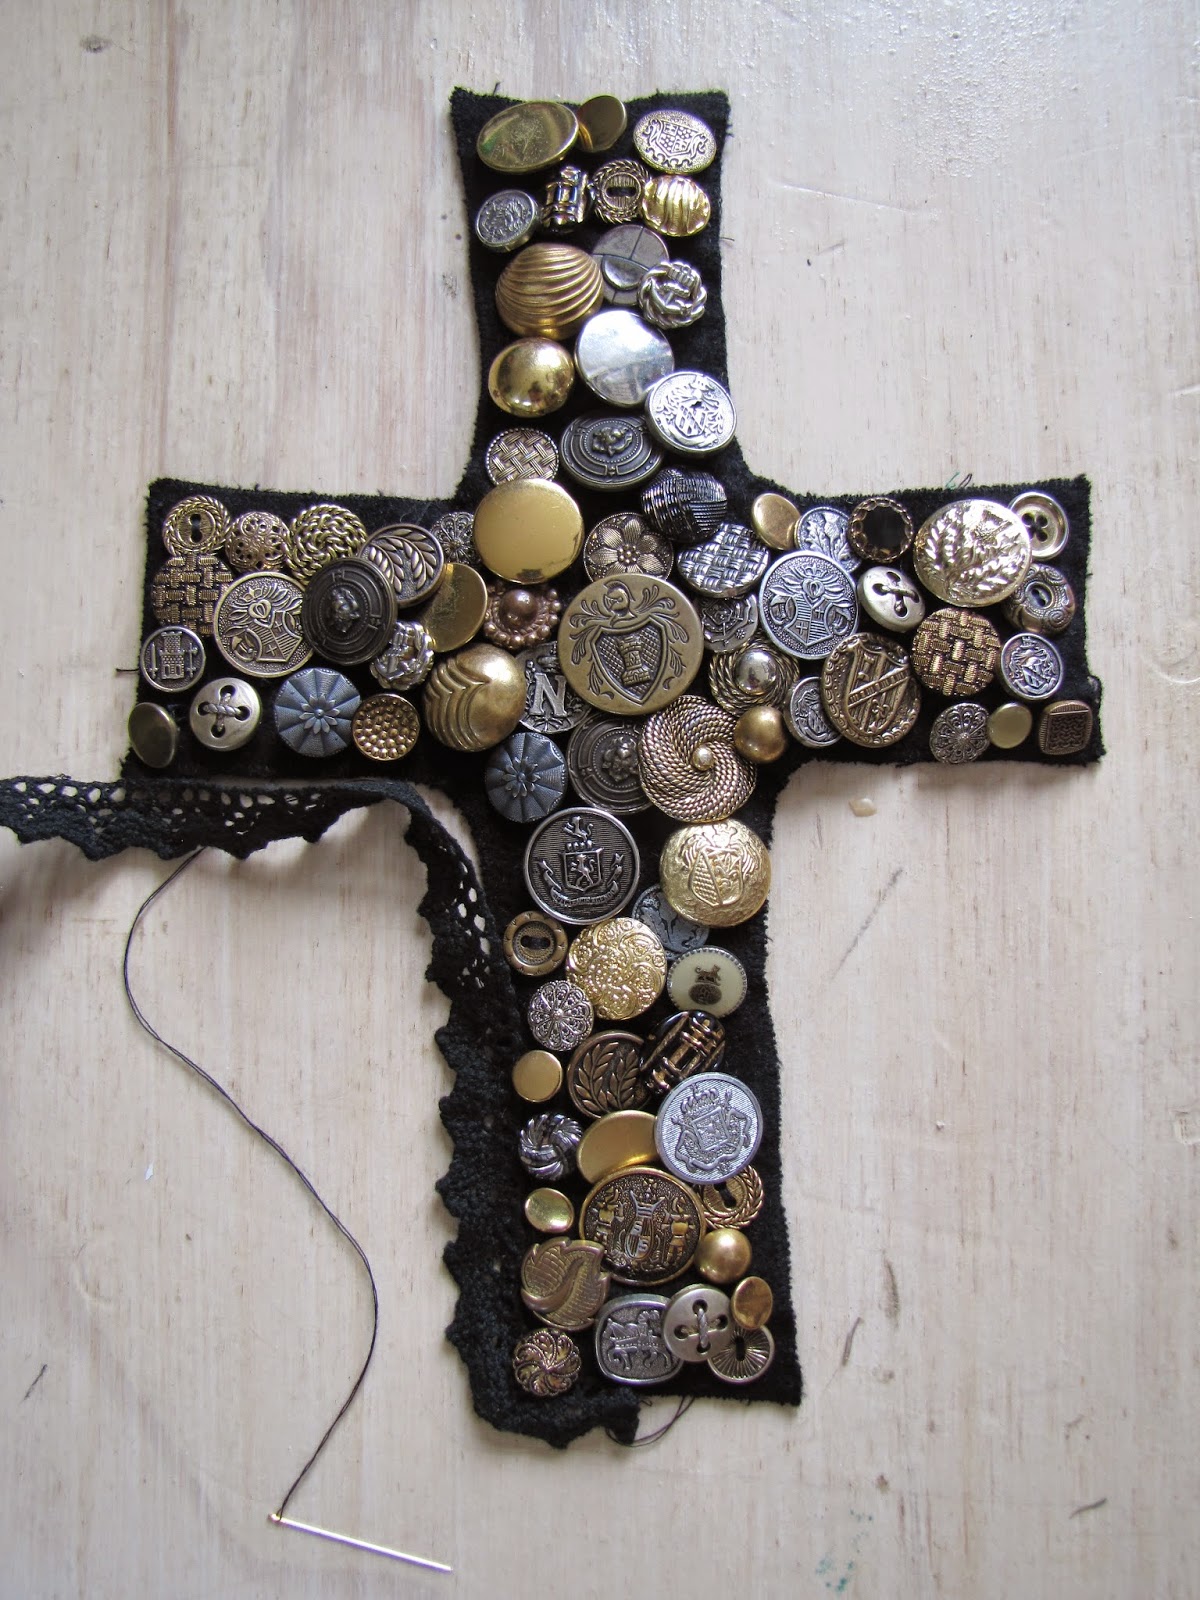 I am looking at making short petal style sleeves for the vest out of lace too. So thats the progress so far - will have a pic of the race day dress in my next ramble...


.jpg)